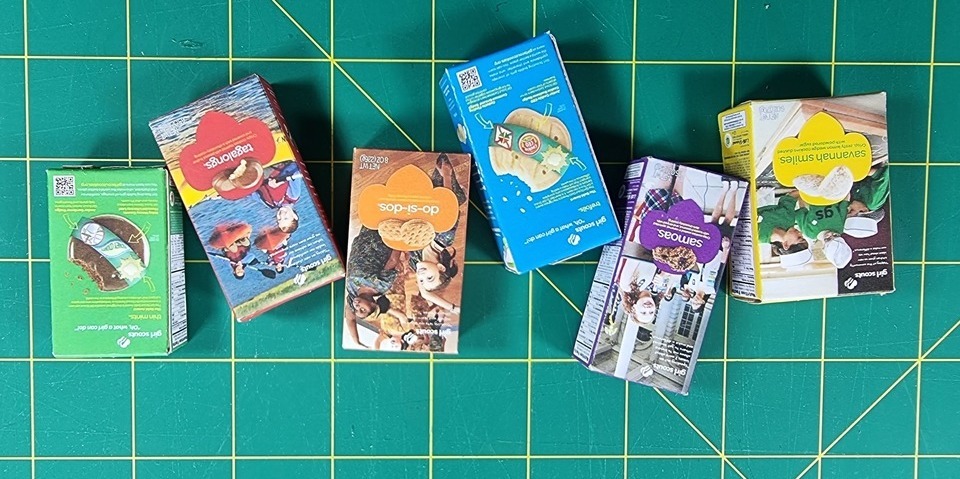
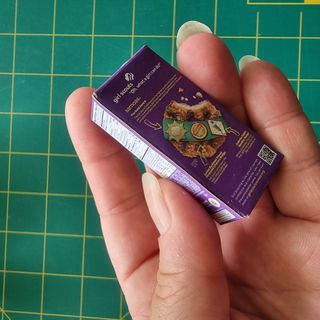
Girl Scout cookie time!
Well, I have to say, this is it! The first printie on my new site/blog.
One of the groups I belong to had a thread about creating doll sized Girl Scout cookie boxes, and there were none to be found, so I offered to create one. Goodness, the challenge was far more than I anticipated!
For a start...we don't have these in New Zealand....so I needed a basic box measurement.
Then I needed to try and find decent images online, that were of a high enough resolution that I could manipulate them into the right size for the 18 inch dolls without having to repair the images too much.
Then I had to find an image online that had most of the real life boxes together so I could understand the colour tones better.
You know....I spent way longer than I should have staring at the real life boxes trying to work out what was different between them and my printie version! It took a while to actually spot that these critters are all different sizes, which is why some of them looked distorted and odd in my printie.
Suffice to say, started over. Now the printable versions are different sizes, just life the real life ones!
I'm not completely satisfied with the outcome, but for the moment it will work just as intended until I can improve on it.
So enjoy! Currently the printie is for 1:4 scale, but I will create and upload in other scales as soon as I can. Please be aware it is on an A4 page, so make sure you set your printer accordingly. Printing to a different size paper can modify the printed image dimensions. I have only just discovered that in the Northern Hemisphere the standard print page is different to the Southern Hemisphere.
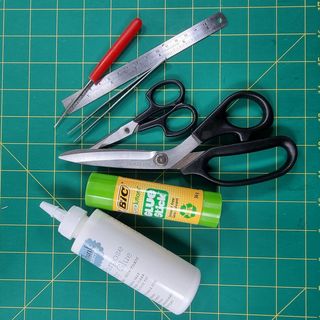
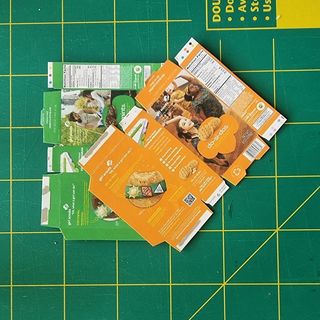
Take the printable and use a glue stick to adhere it to some thin cardboard - this makes them a bit sturdier for play. I used an old manilla folder, but recycled cardboard will work just fine. If they are only for display, then you could print on to a craft weight paper instead.
Let the glue set up for about 10 minutes before cutting the boxes out. I use thin bladed scissors most commonly used for embroidery, but just use any you have on hand.
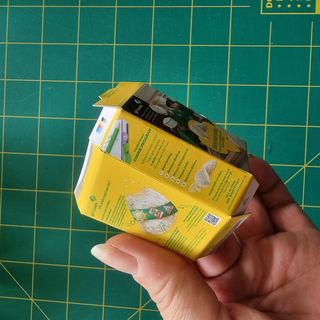
Score the boxes where you would expect the creases to be, and fold. Don't fold or score too hard or you might damage the printed image.
Use pva or white glue to adhere the box edges. You may need to hold in place for a moment or two, until it tacks enough to not seperate when you let go. Glue the ends and you're done!
I hope you have fun making these and if you're in our crafting groups, don't forget to share pix!
Posted: Tuesday 25 January 2022
| Top |

